 You can see a repeated pattern, and if you zoom in to the image and look around, there are little to no lines visible. You can’t see those lines anymore at all!ġ3. But those unsightly lines are the only part of the image that you should be changing, which is why I highlighted just them.)Ĩ.This is what my image looks like when I’m done. (That applies to all of the edges of the painting, not just the four where the lines meet it. Remember, those edges need to remain seamless, and if you mess with them too much, they won’t be anymore! So, you can paint CLOSE to the edge, but not all the way up to it. 
Do NOT do too much to those four corners where the lines meet the edges! Use a smaller brush around those areas and make sure that it doesn’t overlap the edge of the image at all. It is extremely handy once you do, though! It may take a few tries before you really get the hang of the clone stamp tool. When you move your brush up, the reference point/crosshair moves up. Always keep your eye on that crosshair to make sure it’s staying where you want it to be! Then hit ALT somewhere else and get another reference point, then paint over the line somewhere else. The easiest way that I’ve found to do this is to hit ALT and get your reference point, then paint a bit over the line. Make sure that crosshair doesn’t run off the edge of the page, or into the ugly visible line somewhere, or you’re going to get a mess. See that small crosshair that shows up over on the lower right? That shows you what the clone stamp tool is using as a reference for what it is currently painting. Now, start painting over that ugly line on the left side. Holding ALT, left click on that lower right part of the image. 
A portion that does not have that ugly visible line running through it. So, what you’re going to want to do is find a nice, clean portion of the image. What it does is takes from one part of the image and paints a replica of it somewhere else on the image. As you can see here, I have the size at about 29, and my opacity is set at 82%.ħ.If you’ve never used the Clone Stamp Tool before, it can be kind of fun. I’m going to be using the “Rough Dry Brush” from the “Wet Media Brushes” set. 50% works good for those softer textures, and up closer to 85% works great for those rough ones, like this one. Make sure that your opacity is set somewhere between 50-85%, as you see here. It should look something like this (but doesn’t need to be exact).Ħ. #SEAMLESS TEXTURE HOW TO#If you’re not sure how to trim an image, the easiest way is going to be to use the Rectangular Marquee Tool (hit M) to select the part of the image that you want to keep. This can make it more difficult to achieve that seamless look, so I’m going to trim the image down.Ģ.I trimmed it down to the lower left portion of the above image, which all looks pretty uniform in color. Is one side of it considerably darker than the other? In this one, the top right portion is quite a bit darker than the rest, as you can see. You can find the image here, to help you follow along.ġ. You can follow along with the tutorial using the same image that I used, if you’d like. The image that I’m using for this tutorial comes from Angela Sasser at deviantArt (Thank you, Angela!). A pattern is something like lace, or anything with a design on it. 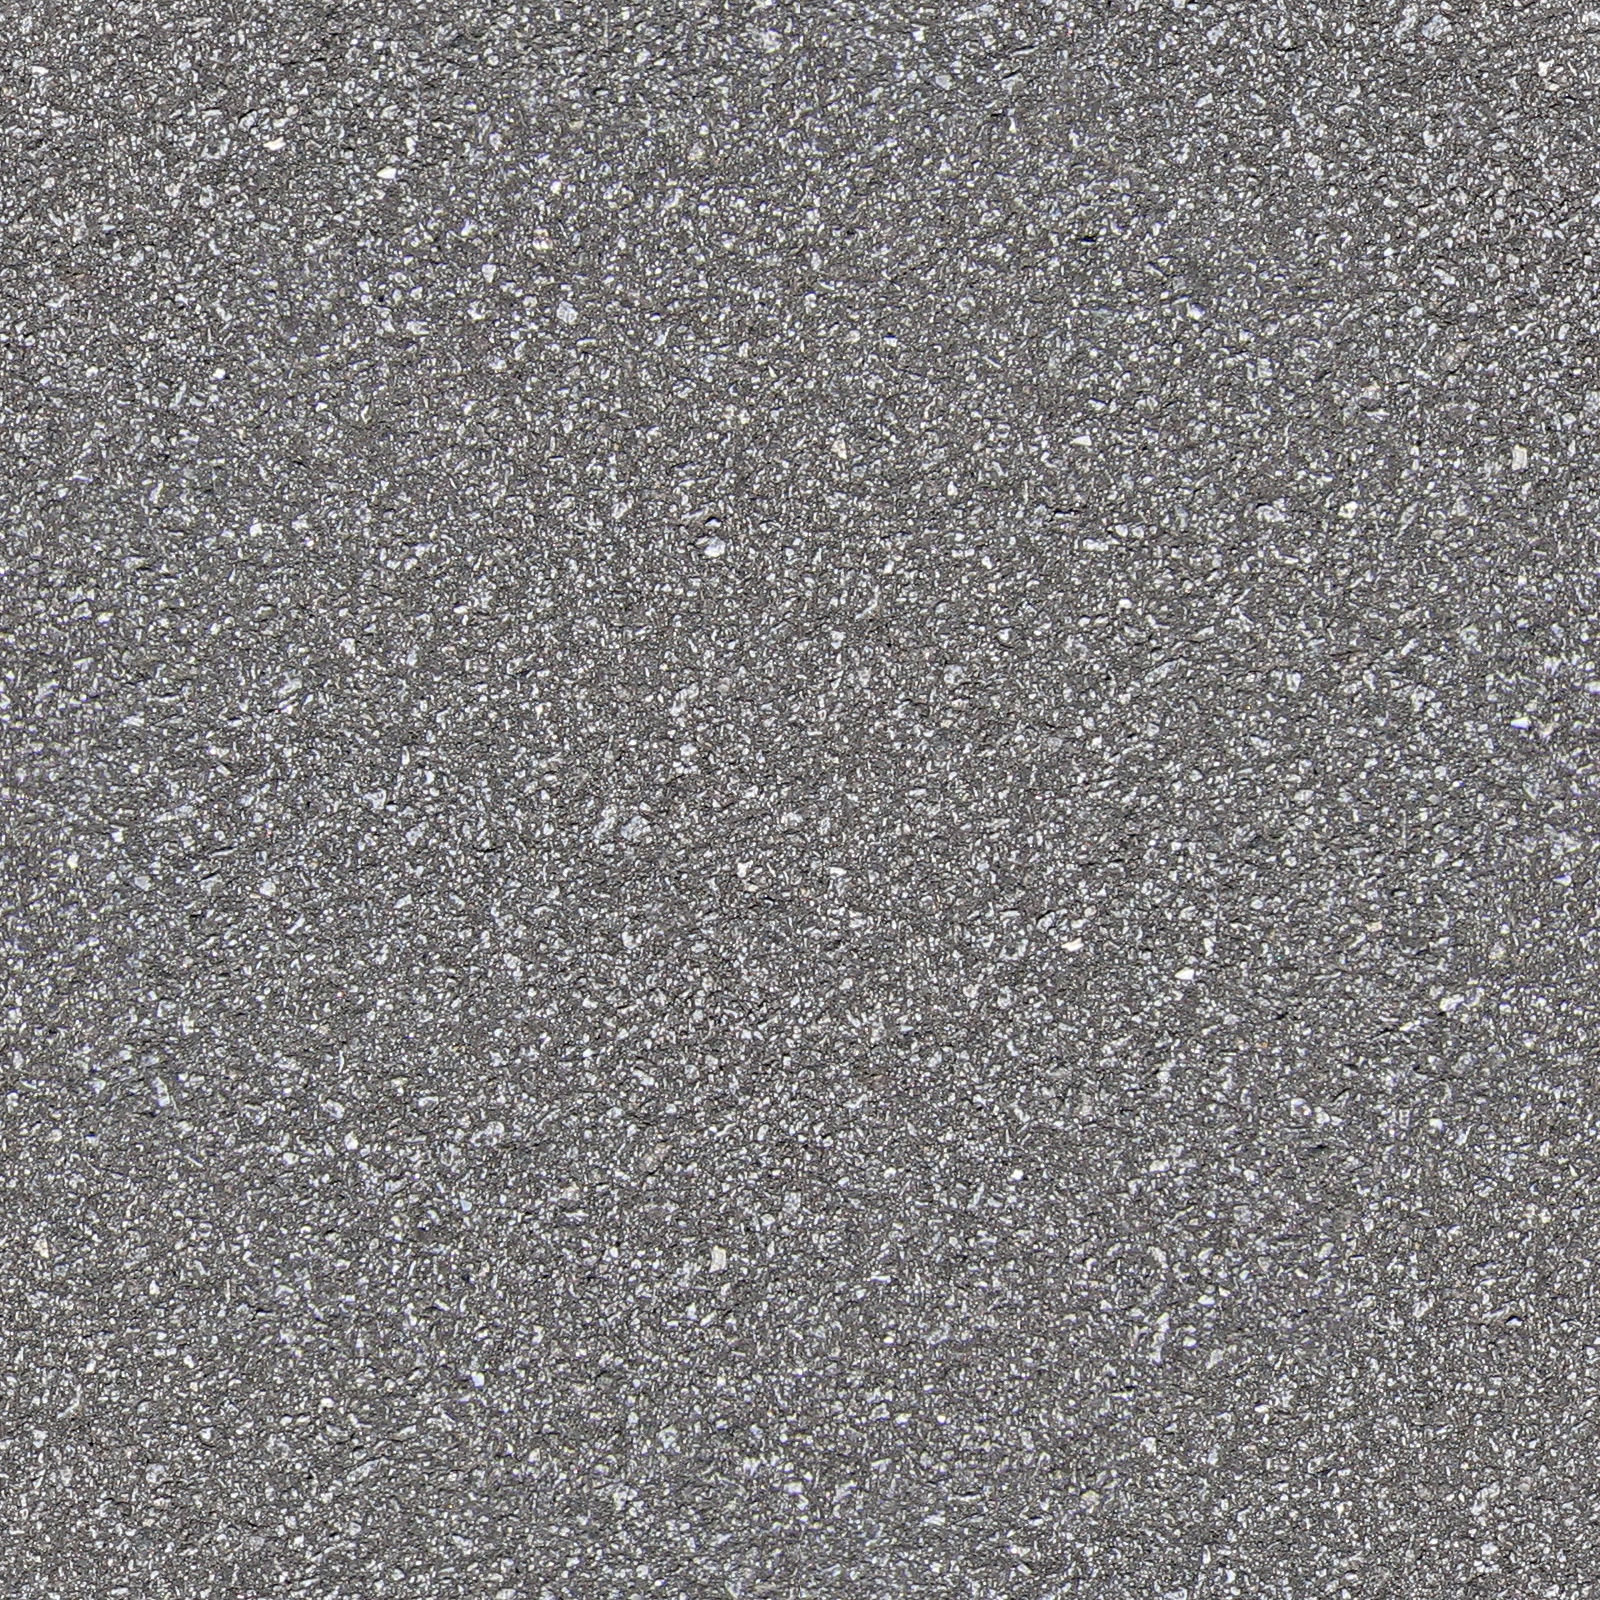.jpg "seamless texture")
Textures are things like granite, dirt, or bark. This only works on textures, not patterns. I created the tutorial using Photoshop CS2, but it should work very similarly in all versions. This tutorial will walk you through how to create a seamless texture in Photoshop.
0 Comments
Leave a Reply. |
AuthorWrite something about yourself. No need to be fancy, just an overview. ArchivesCategories |
 RSS Feed
